Kubernetes Quickstart - Deploy Your First App in 2 Minutes | Codiac
In this quickstart, you'll go from zero to a running production-grade stack in under 2 minutes - repeatable from day one with configuration centralized in a single pane of glass.
Quick Start: Hosted Sandbox (2 minutes)
The fastest way to experience Codiac is with a Hosted Sandbox - a fully managed environment pre-loaded with real services running on production-grade Kubernetes.
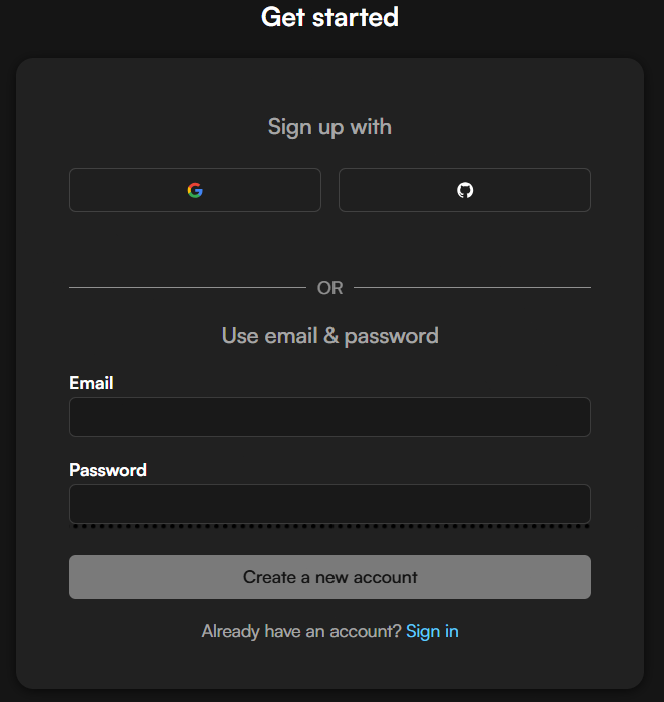
- Create your account at codiac.io - takes 30 seconds
- Choose "Hosted Sandbox" when the setup wizard appears
- Pick your stack - choose the Full Stack (web API, databases, monitoring) or the AI Stack (n8n, vector database, workflow automation)
- Watch your stack deploy - Codiac automatically creates your environment, deploys a cluster agent, provisions a cabinet, and launches your services
That's it. Your stack is running and you didn't install anything.
The wizard created an isolated environment on production-grade Kubernetes. You now have an environment running these services in the stack you pick - all wired up with configs, ingress, and monitoring. All reachable and useable in seconds. Learn more about Hosted Sandboxes.
What's in Your Sandbox
Once the wizard completes, your dashboard shows your running stack. What you see depends on which stack you chose:
Essentials Stack (Default)
| Service | What it does |
|---|---|
| codiac-example | Sample web API |
| PostgreSQL | Relational database |
| pgAdmin | Database management UI |
| Grafana | Monitoring dashboards |
| Prometheus | Metrics collection |
| Redis | In-memory data store |
AI Stack
| Service | What it does |
|---|---|
| n8n | Workflow automation for AI agents |
| PostgreSQL | Relational database |
| pgAdmin | Database management UI |
| Qdrant | Vector database for embeddings |
| Redis | In-memory data store |
Every service shows live pod status, version info, and health indicators. These are real containers on real Kubernetes infrastructure - not a simulation.
Each service gets its own unique HTTPS URL with a TLS certificate - a core Codiac feature. You have full freedom to configure, adjust, and use these services however you want. Change environment variables, update feature flags, tweak database settings, redeploy - it's your environment.
This isn't just a demo. Your sandbox is real infrastructure you can use for real work - run AI agents, extend your development environment with services reachable off your local machine, or prototype before committing to production infrastructure.
Sandboxes are great for learning Codiac and running hosted workloads, but you cannot add your own custom container images to the shared sandbox cluster for security reasons. When you're ready to deploy your own workloads, bring your own cloud - you'll have full control to deploy whatever you choose.
Next Steps
- Explore your dashboard - click into any asset to see pod status, replicas, and version info
- Make a config change - update a setting and redeploy to see Codiac's dynamic configuration in action
- Sandbox Walkthrough - a guided tour of everything in your sandbox
- Sandbox to Production - ready to bring your own cloud? Everything carries over
Advanced: Custom Stack Setup
Already have your own cloud infrastructure? You can skip the sandbox and set up Codiac with your own clusters.
Account Configuration
- Go to the Codiac website: https://www.codiac.io/
- Click the blue Try it free button.
- You'll be brought to the registration page asking for an email.
3 steps to your first deployment
Once your account is created and you choose "Bring Your Own Cloud", you can:
- Add your first workload asset - Click "Create Asset" to deploy your first application
- Create a DEV environment - Select from Codiac's hosted clusters or your own
- Deploy and monitor - Watch your application come online in real-time
- BONUS: Configure your application - Set urls, and other settings through the UI
The web interface guides you through each step with helpful prompts and visual feedback.
Want to use the CLI instead? See our Quickstart CLI Setup (Optional) guide for CLI installation and advanced workflows.