Quickstart CLI Setup (Optional)
This page is optional! Already using a Hosted Sandbox? You can manage everything from the web UI - no CLI needed. This guide is for teams that want CLI automation or to connect their own cloud infrastructure.
Optional: Advanced Setup
The following tools are optional and only needed for specific use cases:
- NodeJS: Only if you want to use the Codiac CLI
- Cloud accounts (AWS/Azure): Only if you want to bring your own clusters
When you need these tools:
- NodeJS: For CLI usage, local development, or advanced automation
- Cloud accounts: For bringing your own Kubernetes clusters instead of using Codiac's hosted clusters
Part 1: Optional Prerequisites
NodeJS (Required for CLI usage)
When you need this: Only if you want to use the Codiac CLI for local development or advanced automation.
You'll need NodeJS version 20.13.1 or later. When you install NodeJS, it comes with JavaScript and the NPM package manager, which you'll need to install the CLI.
To install NodeJS, go to the following link:
You should see a screen similar to the screenshot below.
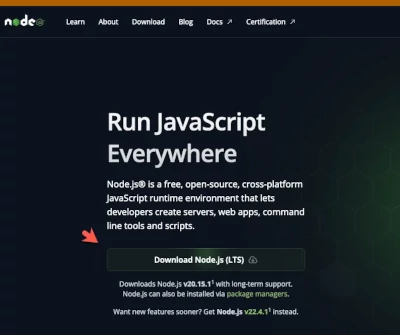
When you click the Download button, you'll see the package on your local computer.
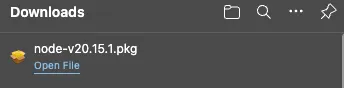
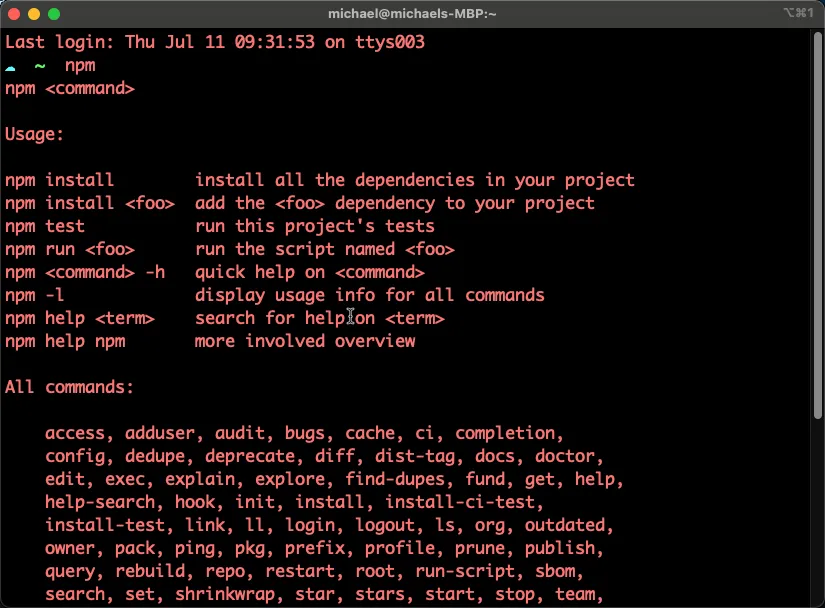
Once you download the NodeJS package, you can open up a terminal, run npm, and confirm that NPM is installed.
Cloud Accounts (Optional - for bringing your own clusters)
When you need this: Only if you want to bring your own Kubernetes clusters instead of using Codiac's hosted clusters.
Alternative: You can use Codiac's managed clusters without any cloud account setup!
If you want to bring your own clusters, Codiac supports two major cloud providers:
- Azure
- AWS
Let's learn how to set up both within the free tier limits.
Azure
To set up an Azure account, you can see the free account link below.
https://azure.microsoft.com/en-us/free
You'll see a green Start free button similar to the screenshot below.

On the same page, you'll see that Azure gives you a $200.00 free credit which you can use for an Azure Kubernetes Service (AKS) cluster.

AWS
For the AWS Free Tier, you can use this link.
You'll see a page similar to the screenshot below come up. Before clicking the orange Create a Free Account button, click the blue Learn more button.
You should see all of the Free Tier details, including the EC2 hours that you get for free (ec2 instances are what run the Kubernetes Worker Nodes on Elastic Kubernetes Service (EKS)).
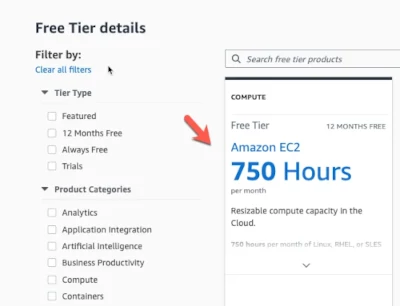
What you won't see for free, however, is EKS. You'll most likely have to pay a few bucks for EKS (for the EKS service itself, not for the EC2 instances running the Worker Nodes), but as long as you delete the EKS cluster when you're done in your home lab, you won't accrue thousands of dollars of cost.

Remember: You can skip all of this and use Codiac's hosted clusters instead!
Part 2: CLI Installation and Configuration
CLI Installation
When you need this: Only if you want to use the Codiac CLI for local development, automation, or advanced workflows.
Skip this if: You want to use Codiac entirely through the web interface.
The Codiac CLI is installed via NPM (Node.js package manager). If you haven't installed NodeJS yet, you'll need to do that first (see prerequisites above).
The command below pulls down the Codiac CLI.
npm i -g @codiac.io/codiac-cli
You can then use the Codiac CLI to log into your Codiac account with the same email and password you created/used in the previous section.
codiac login
CLI Configuration
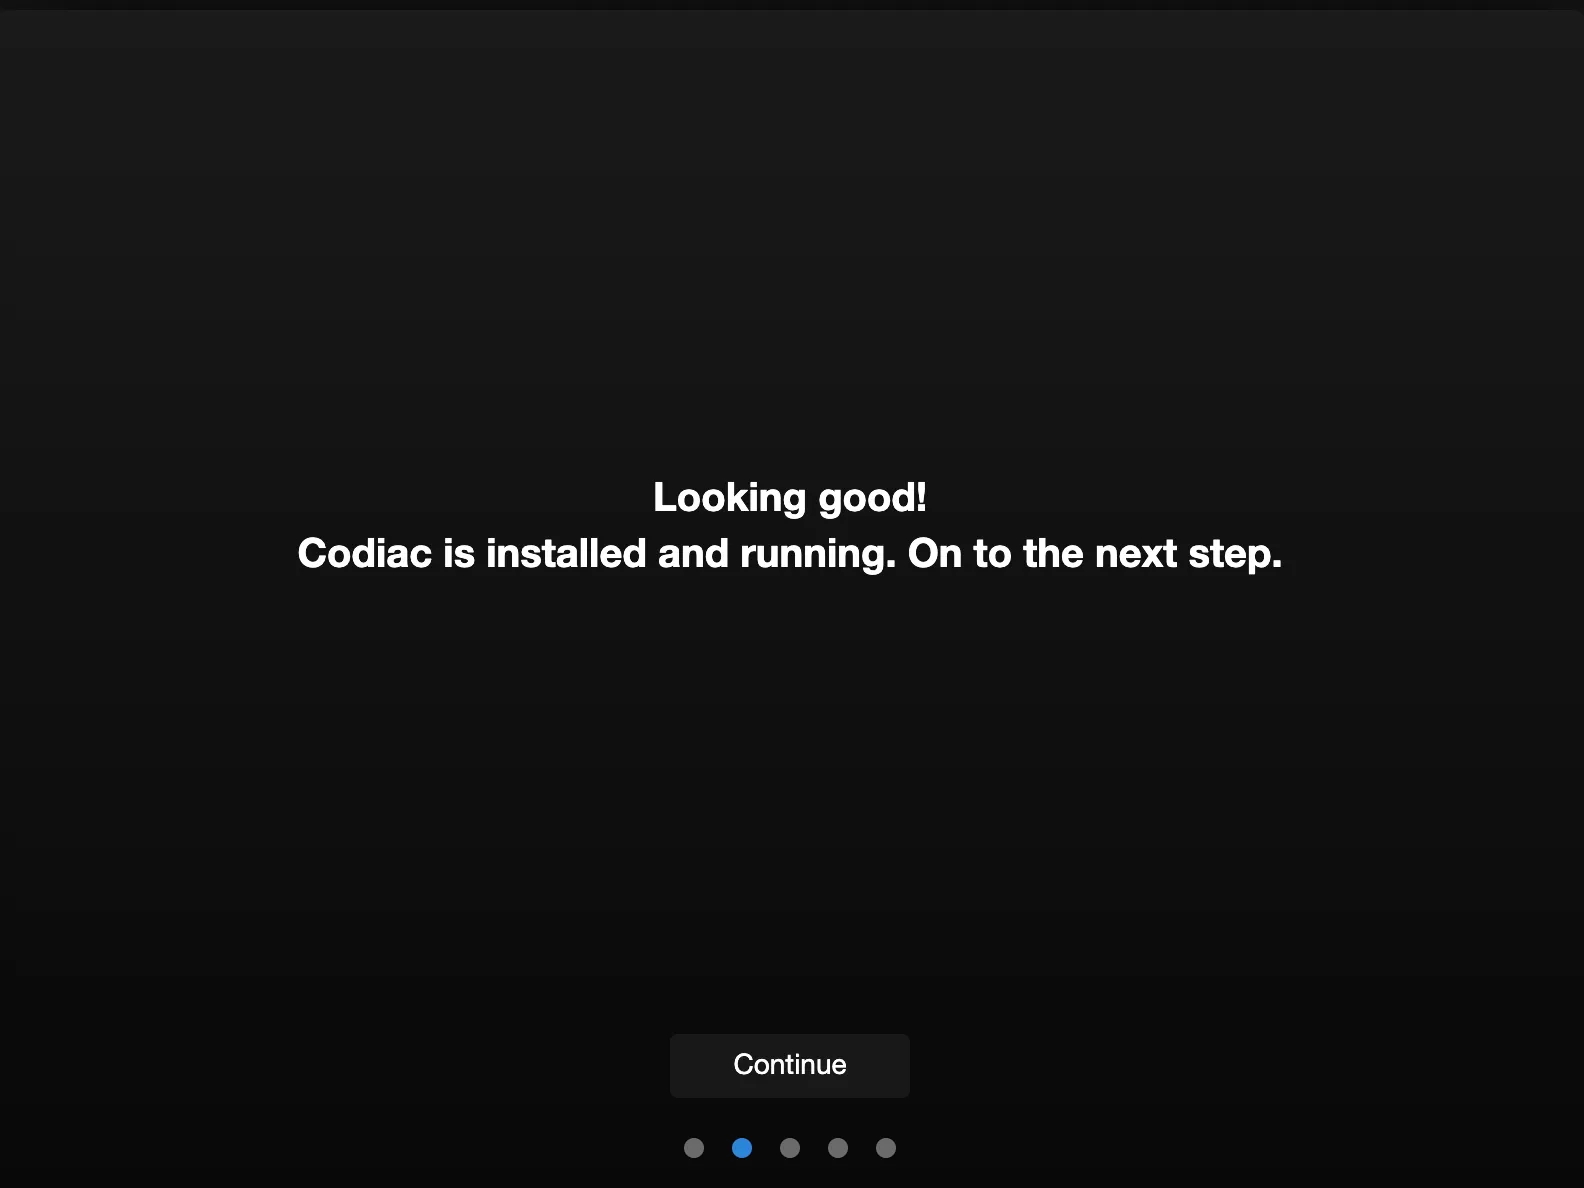
Once Codiac is installed, you'll be brought to the UI. The UI will show a few steps to get Codiac up and running. The first step is the Asset.
An Asset can be any entity, like a docker image, to get your SDLC started.
You should see a screenshot similar to the one below.
- Click the Continue button.
- You'll then see a command to run. Open up the terminal and run the following:
codiac asset create

- You'll be prompted to add a cloud registry. The reason why is because Codiac wants to help you get up and running right away, so one of the first steps is to pull down a containerized image to deploy.
Log into the container registry that you typically use. The four choices are AWS ECR, Azure ACR, ArtifactHub, and DockerHub.
Your terminal may look a bit different than mine. The reason why is because I created a Codiac asset already.

- When you choose a container registry, you'll be prompted to log in. For example, if you choose AWS ECR, you'll need to log in via AWS IAM access key/secret.
If you don't already have an IAM key/secret, you can create one from the AWS portal. The IAM user's key/secret will need CLI access.

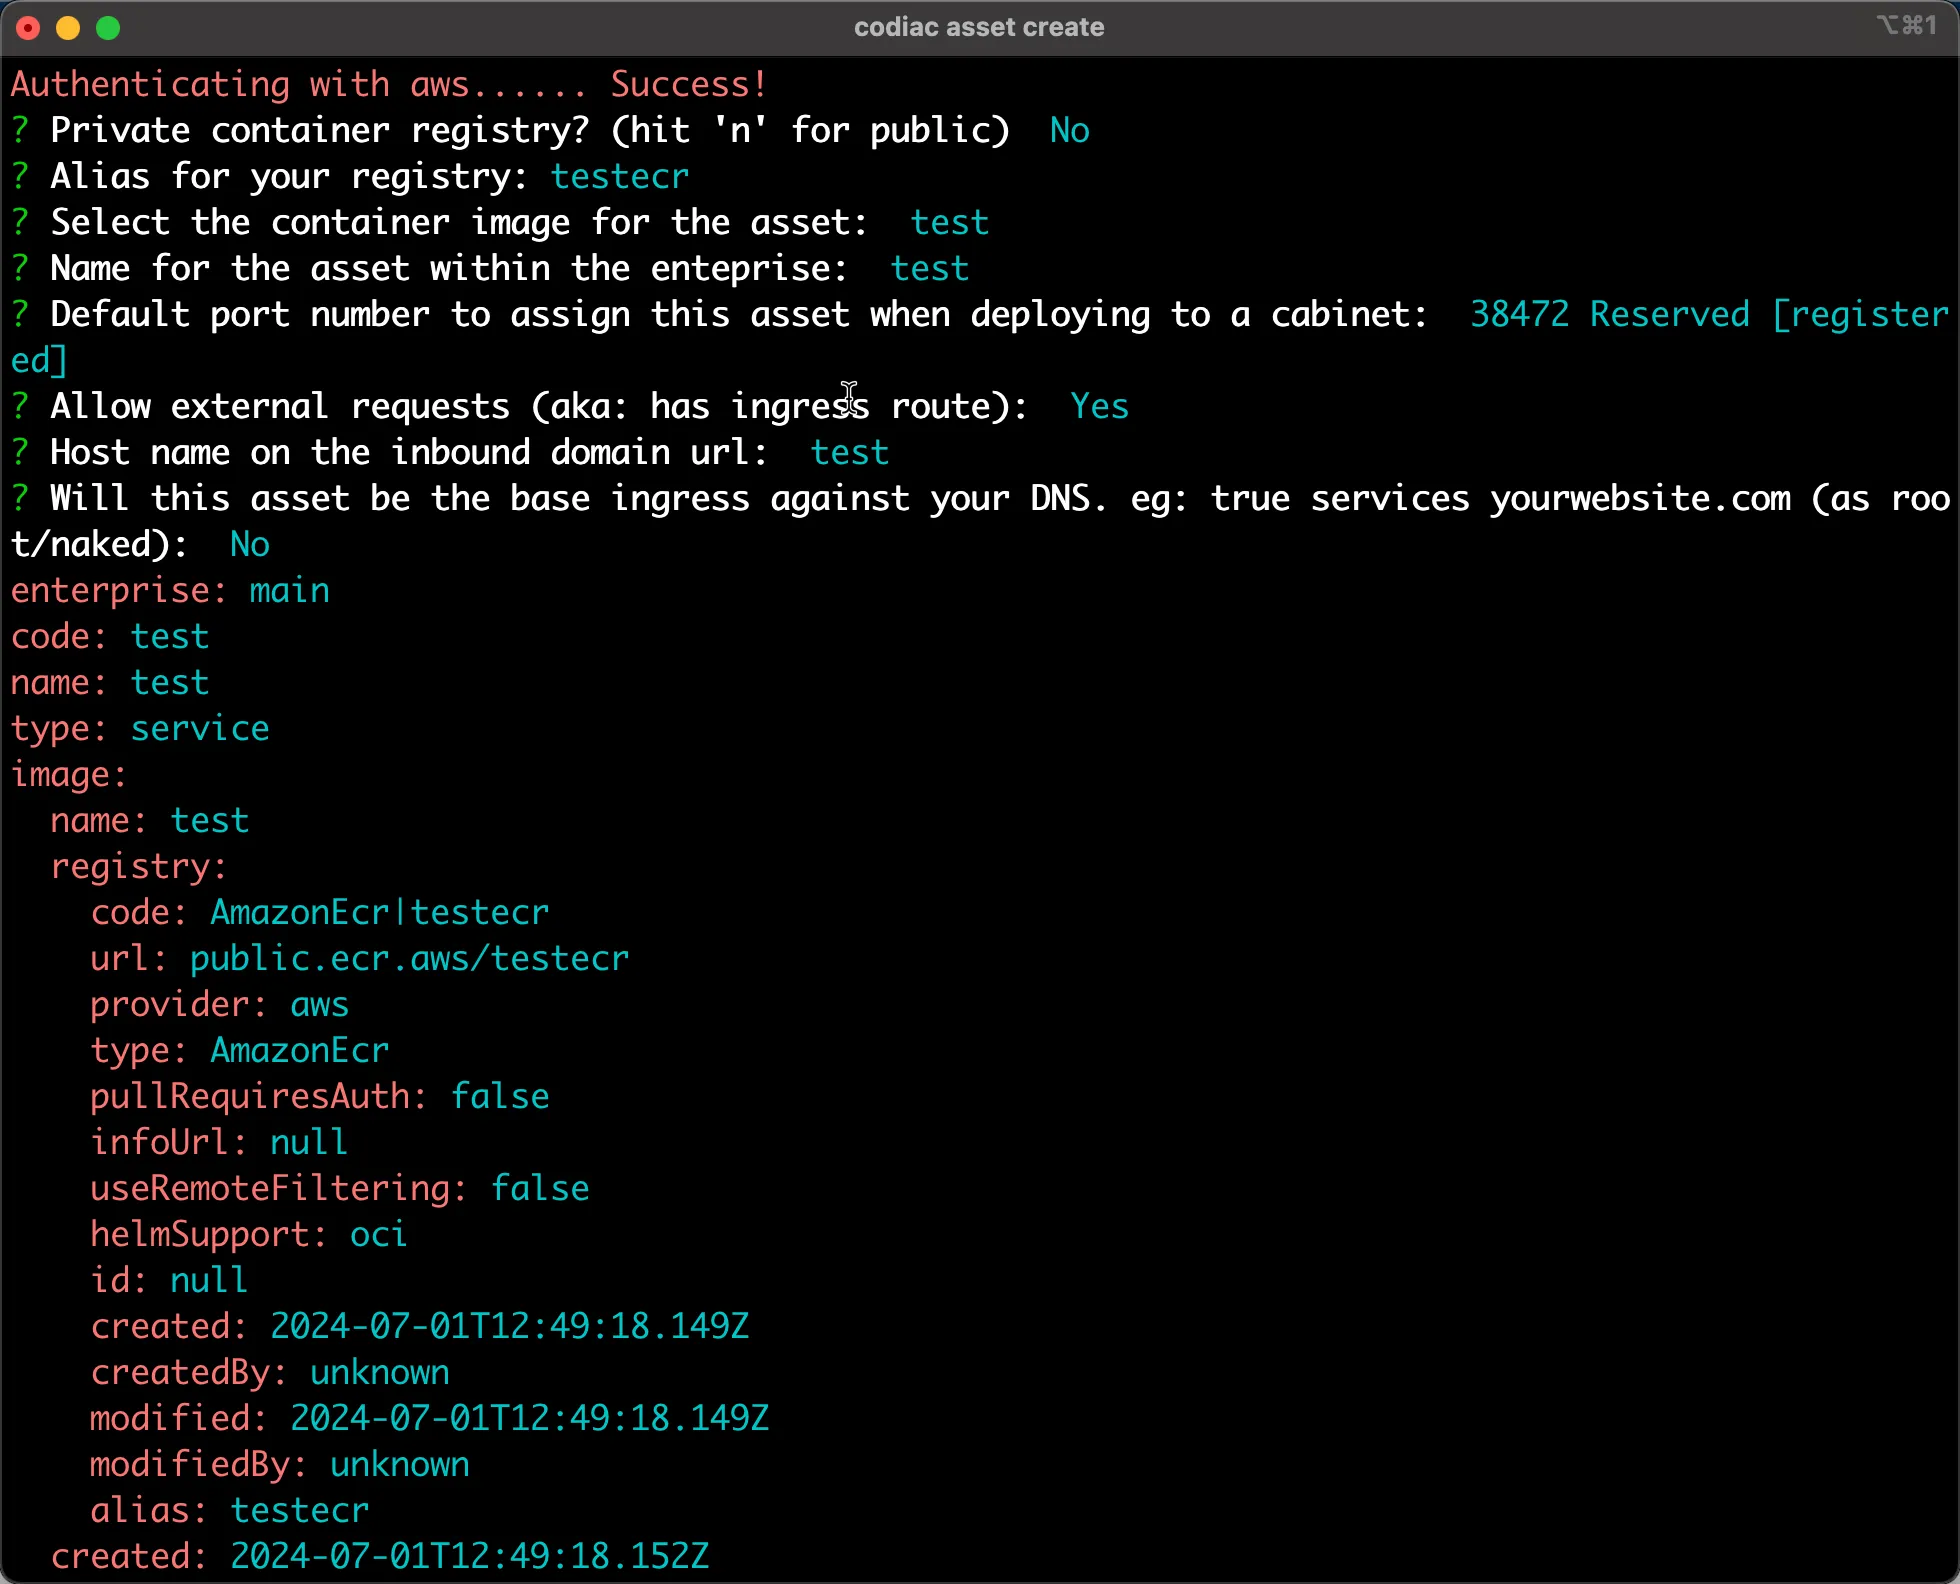
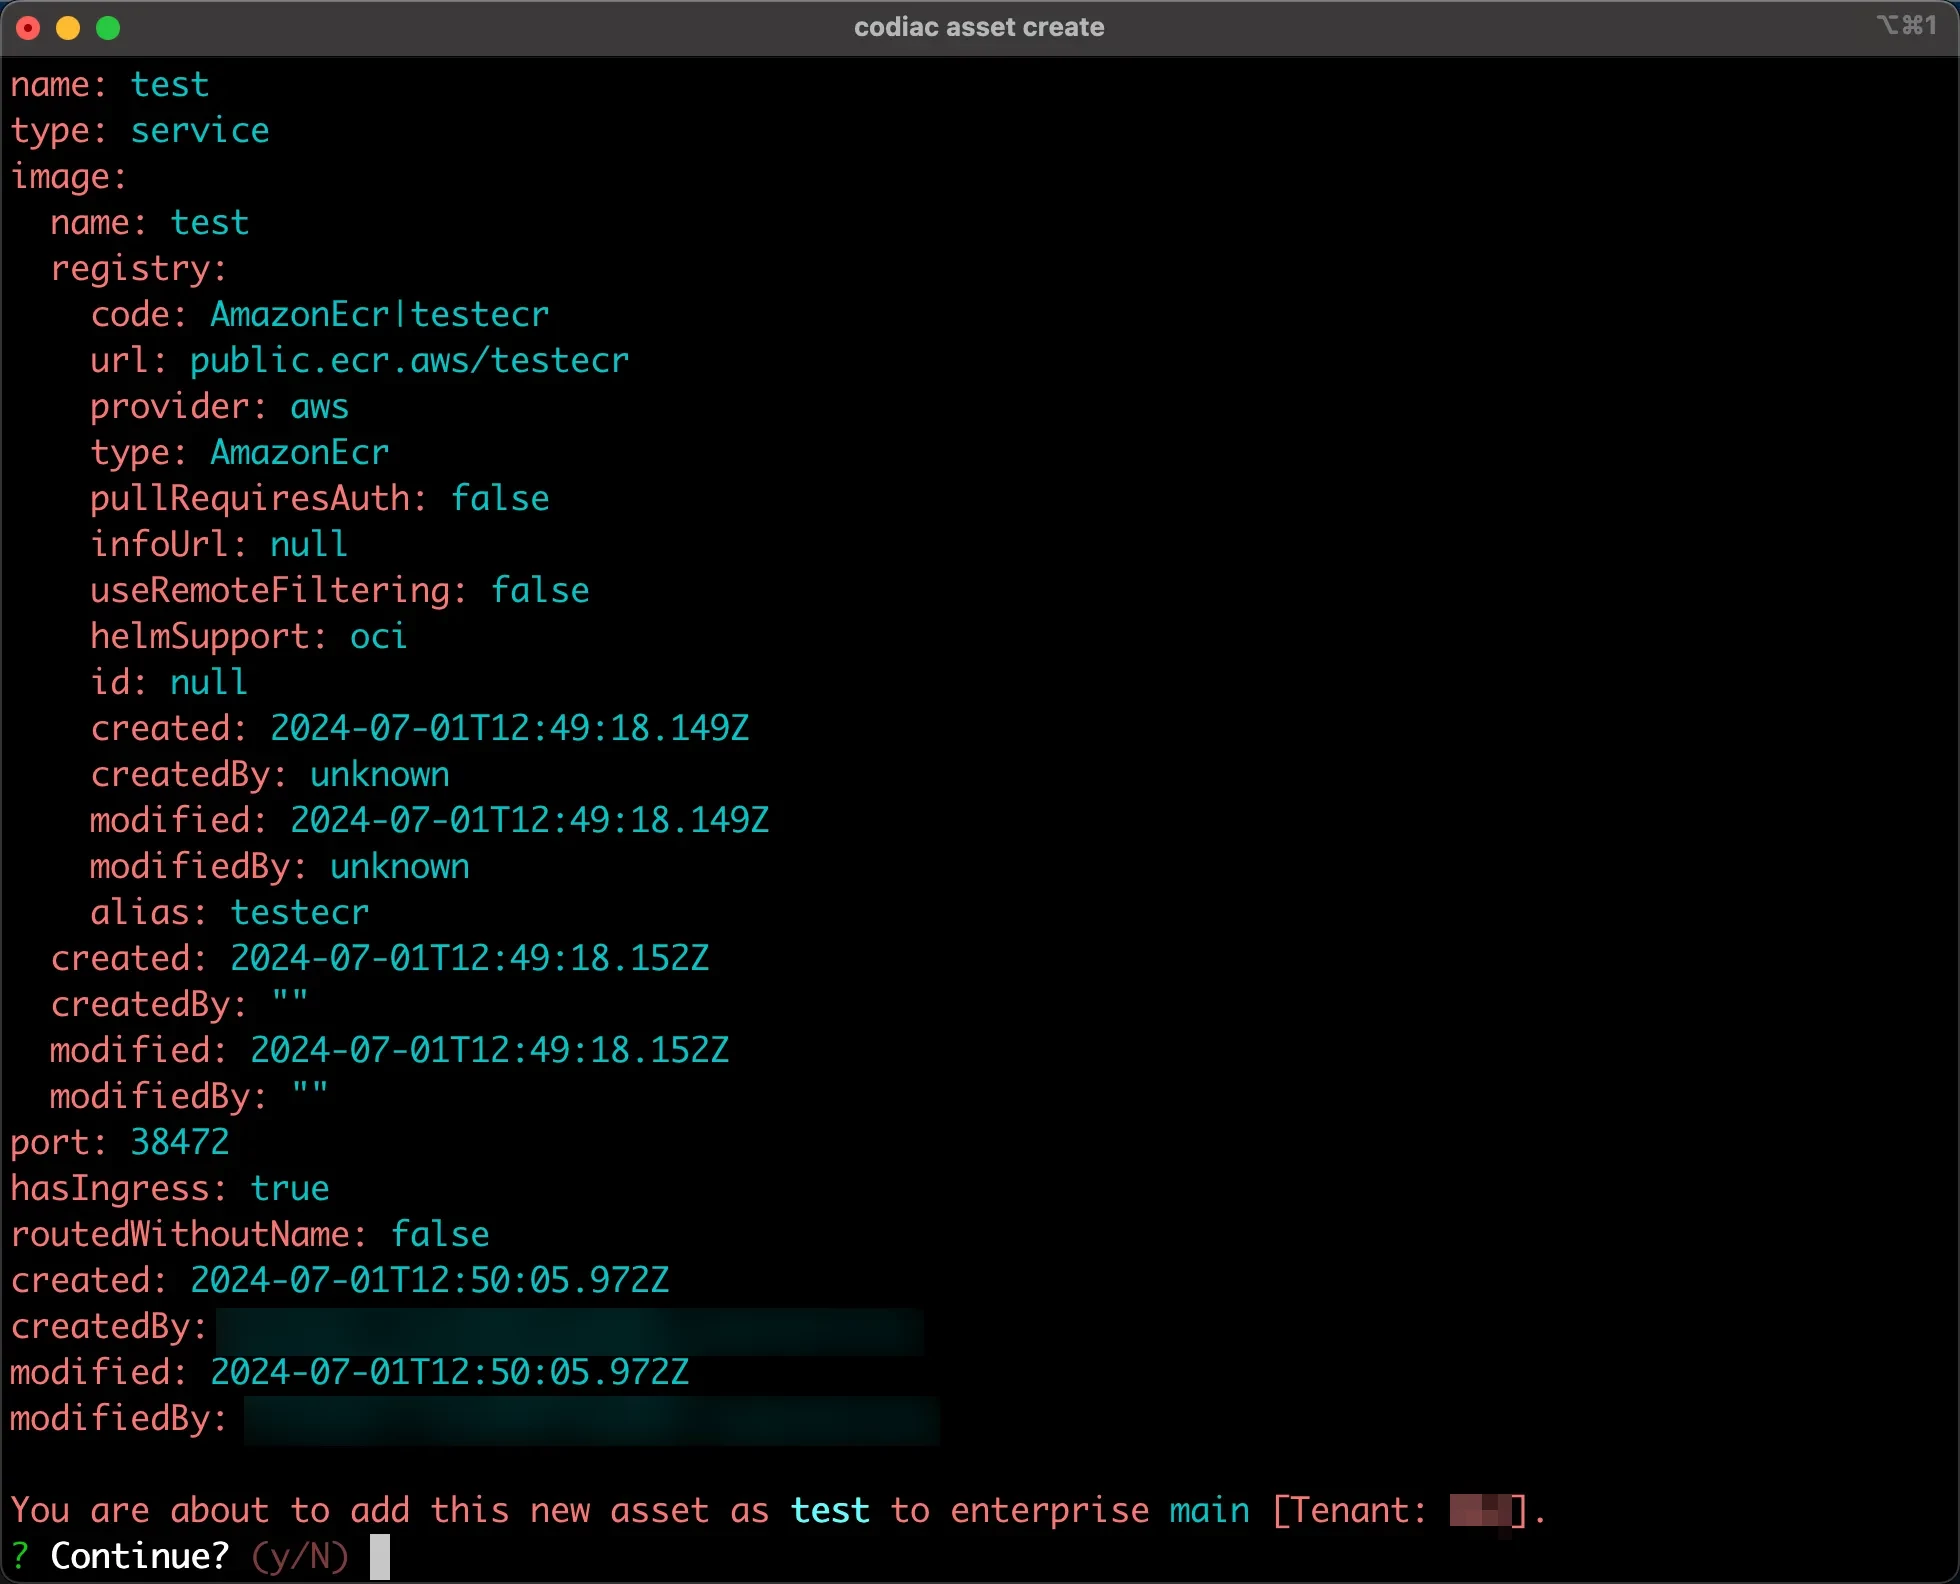
After the authentication occurs, you'll be prompted with several questions (see below screenshot). As you're going through, you'll realize that you're being prompted for information to deploy your first asset (containerized application).
Codiac gets you up and running with a few questions (port number, name, ingress options, external access, etc.). The overall goal is to make your live easier when it comes to your Software Development Lifecycle (SDLC) journey.
Part 3: Cluster Options
You have two options for running your applications:
Option 1: Use Codiac's Hosted Clusters (Recommended for quick start)
- No setup required
- Managed by Codiac
- Perfect for getting started quickly
- Use the web interface to deploy
Option 2: Bring Your Own Cluster
- Use your own AWS/Azure Kubernetes clusters
- More control and customization
- Requires cloud account setup (see prerequisites above)
Cluster Installation (Optional - for bringing your own clusters)
If you want to bring your own clusters instead of using Codiac's hosted clusters, follow these steps:
- Use the Codiac cluster create command.
codiac noc cluster create
- The first prompt you'll see is to choose a cloud provider. At the time of writing this (July 2024), the two cloud provider options are AWS and Azure.

- Authenticate to your cloud provider. In the example below, authentication is occurring against AWS.

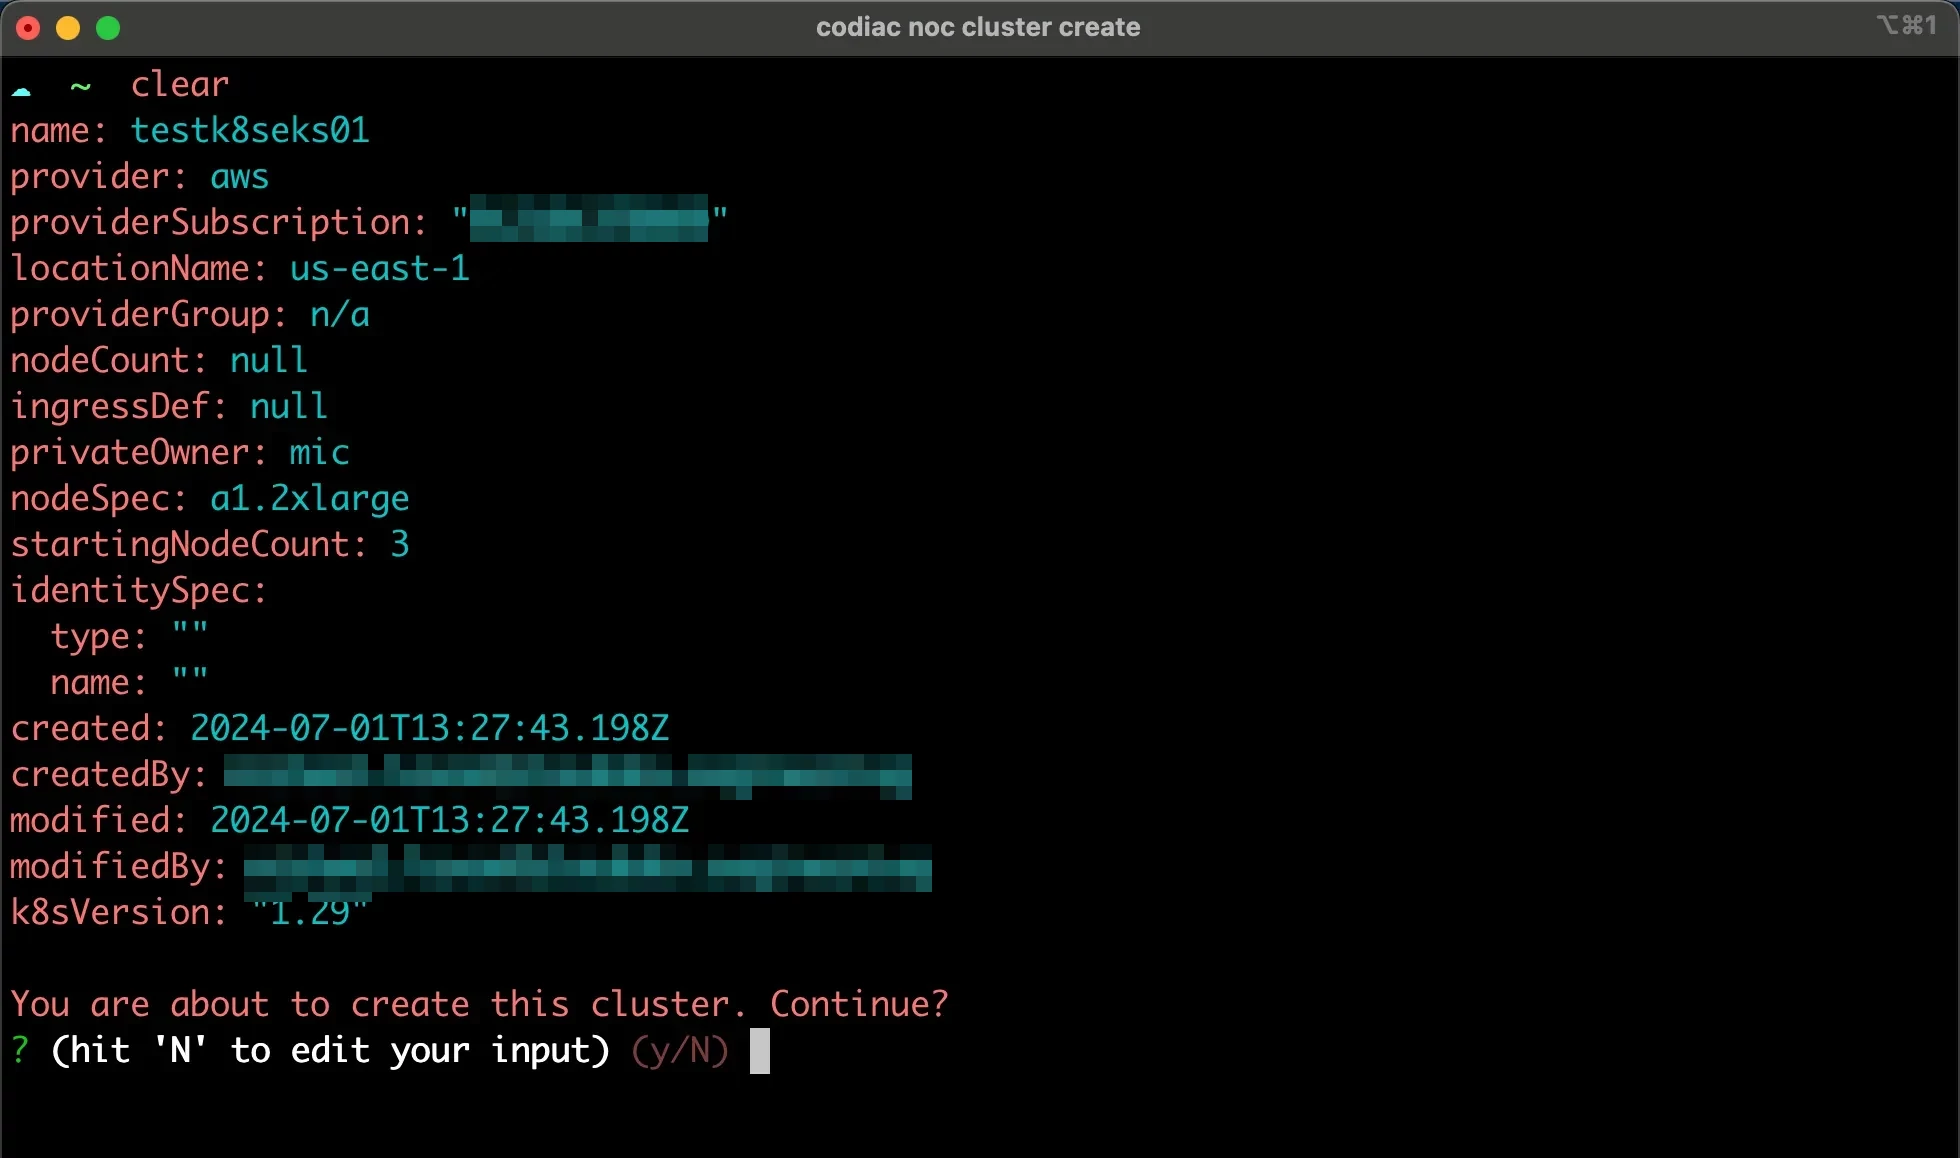
- When you get authenticated, you'll see several prompts come up to define how you want your Kubernetes cluster to look. Everything from the Worker Node size to the subset to the region and everything in between.
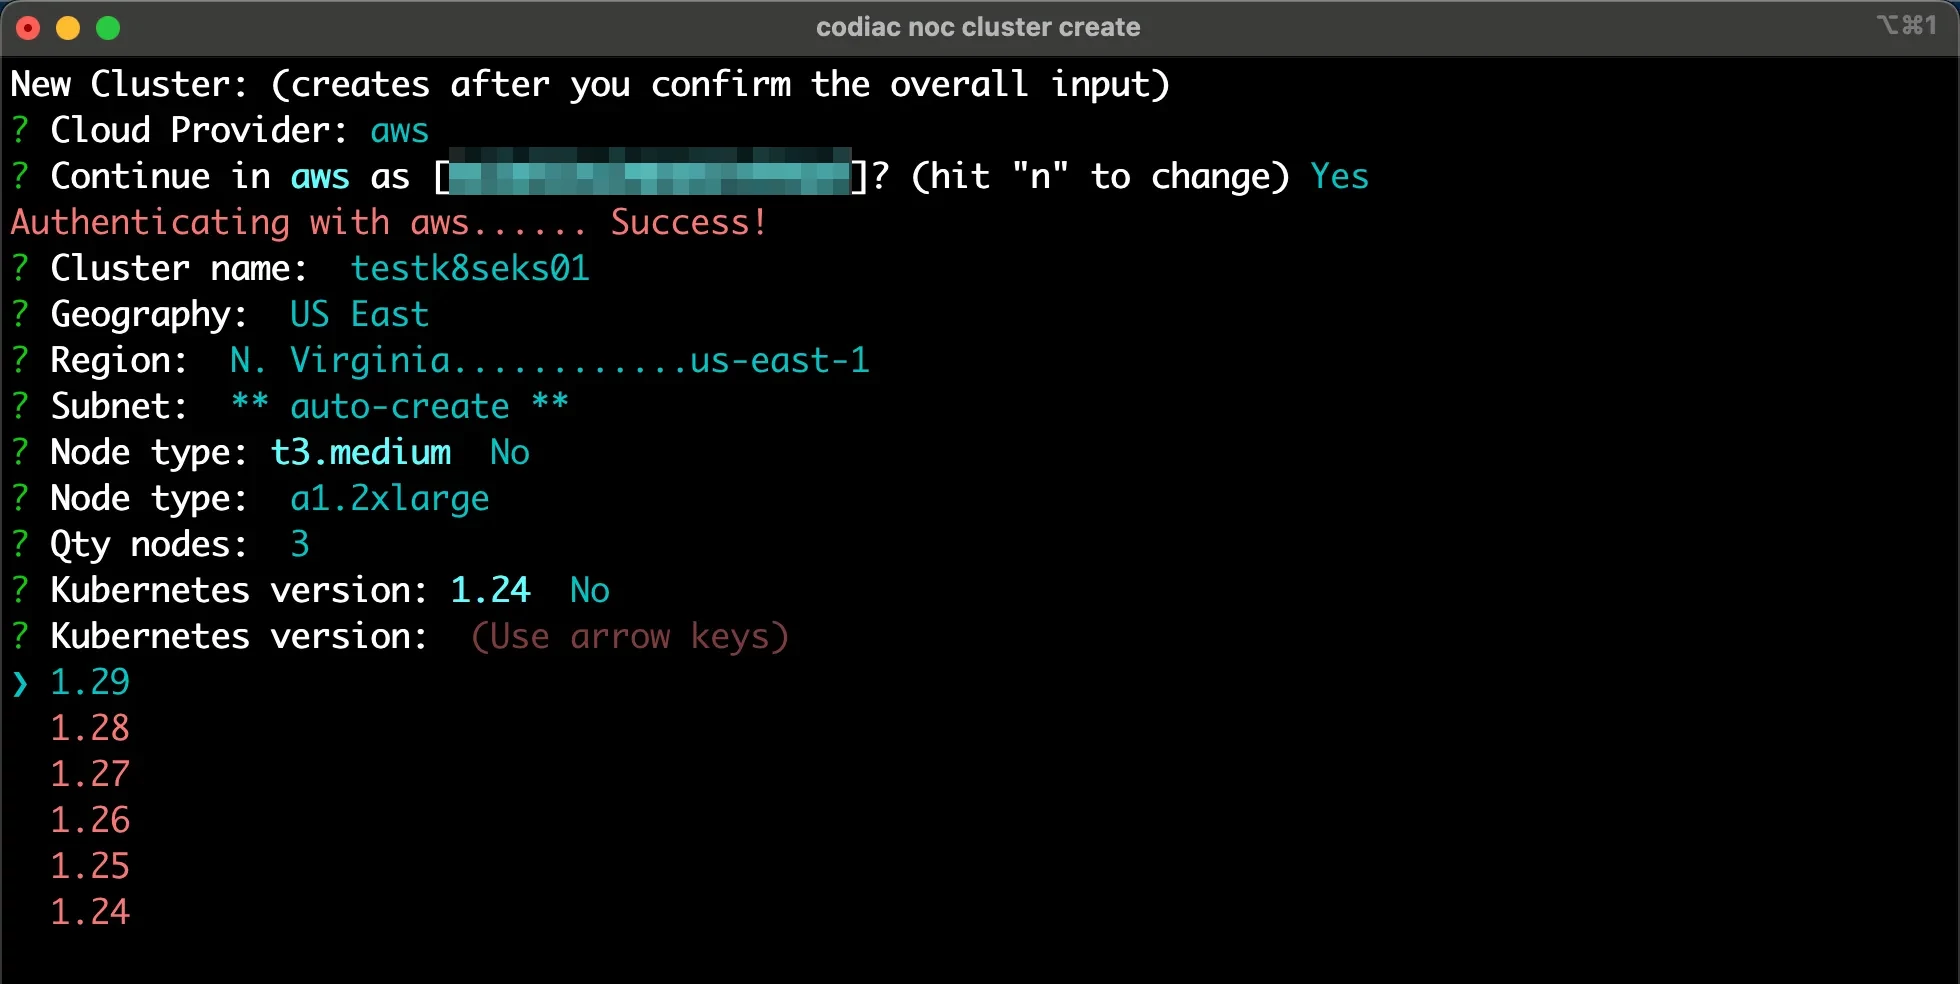
- After typing in all of the prompts, you'll be able to create your cluster per the screenshot below.